October 27, 2026
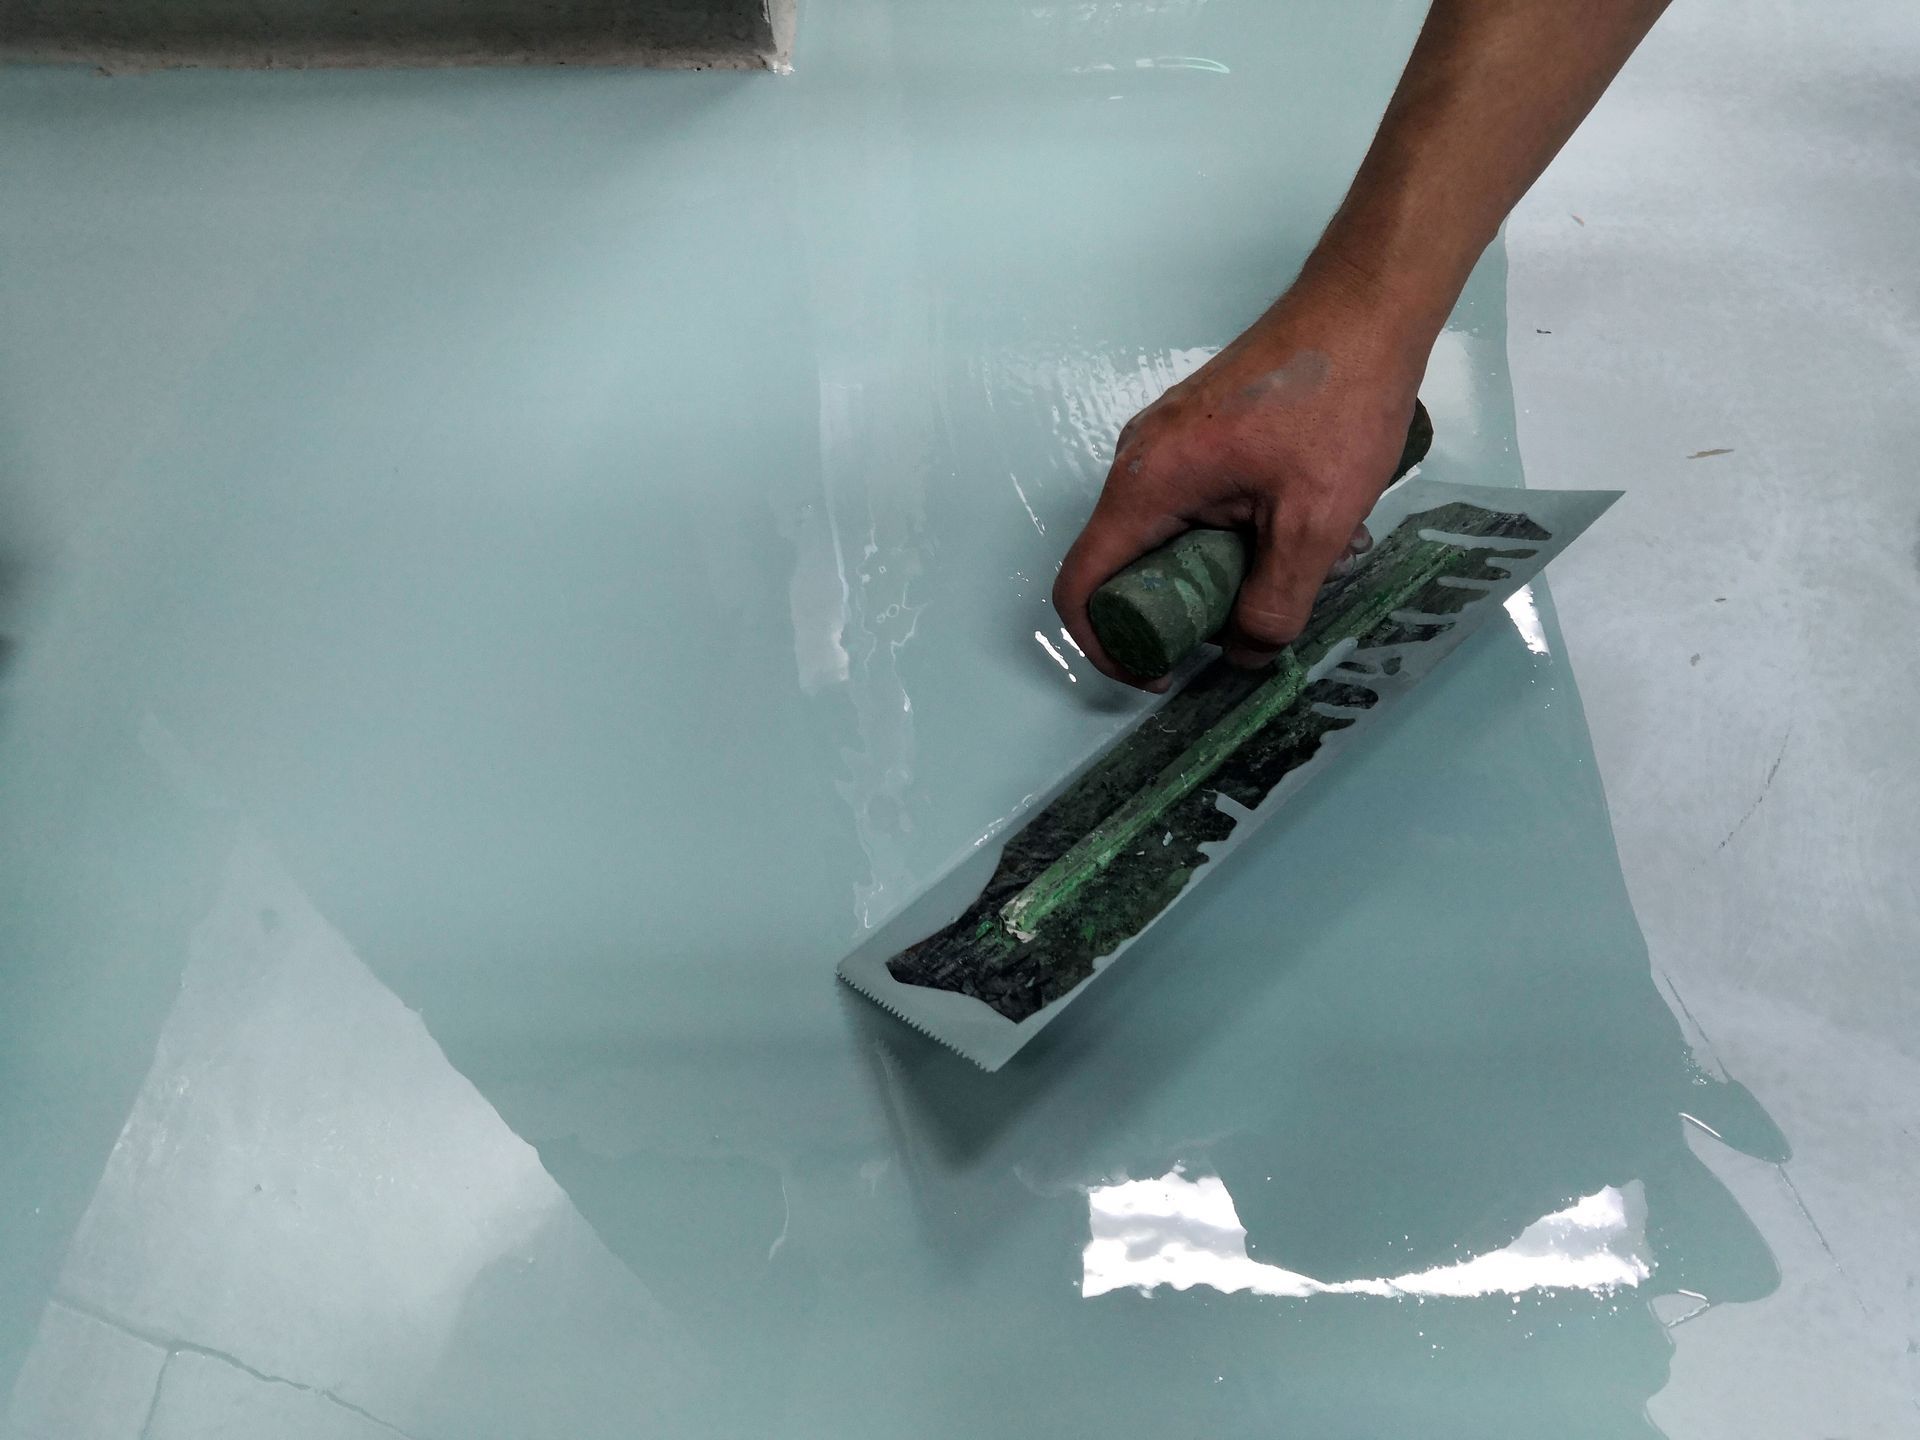
A new garage floor coating can transform a dull, stained slab into a bright, durable surface that stands up to daily use. To get the most out of your investment, though, you need to do some planning before installation day arrives. According to HomeAdvisor, epoxy flooring consists of synthetic resins mixed with a hardening agent, and this two-component coating adheres to concrete to form a seamless, resilient surface.
That bond depends heavily on the condition of the slab underneath and the environment around it. Professional installers handle the technical side of surface preparation, such as grinding and crack repair, but homeowners play an important role in getting the space ready. A little effort on your end helps the crew work efficiently, keeps your project on schedule, and protects your belongings from dust and debris. This guide walks you through how to prepare your garage for an epoxy concrete service, from clearing out your stored items to planning for the days when your garage will be off-limits.
Empty the Garage Completely
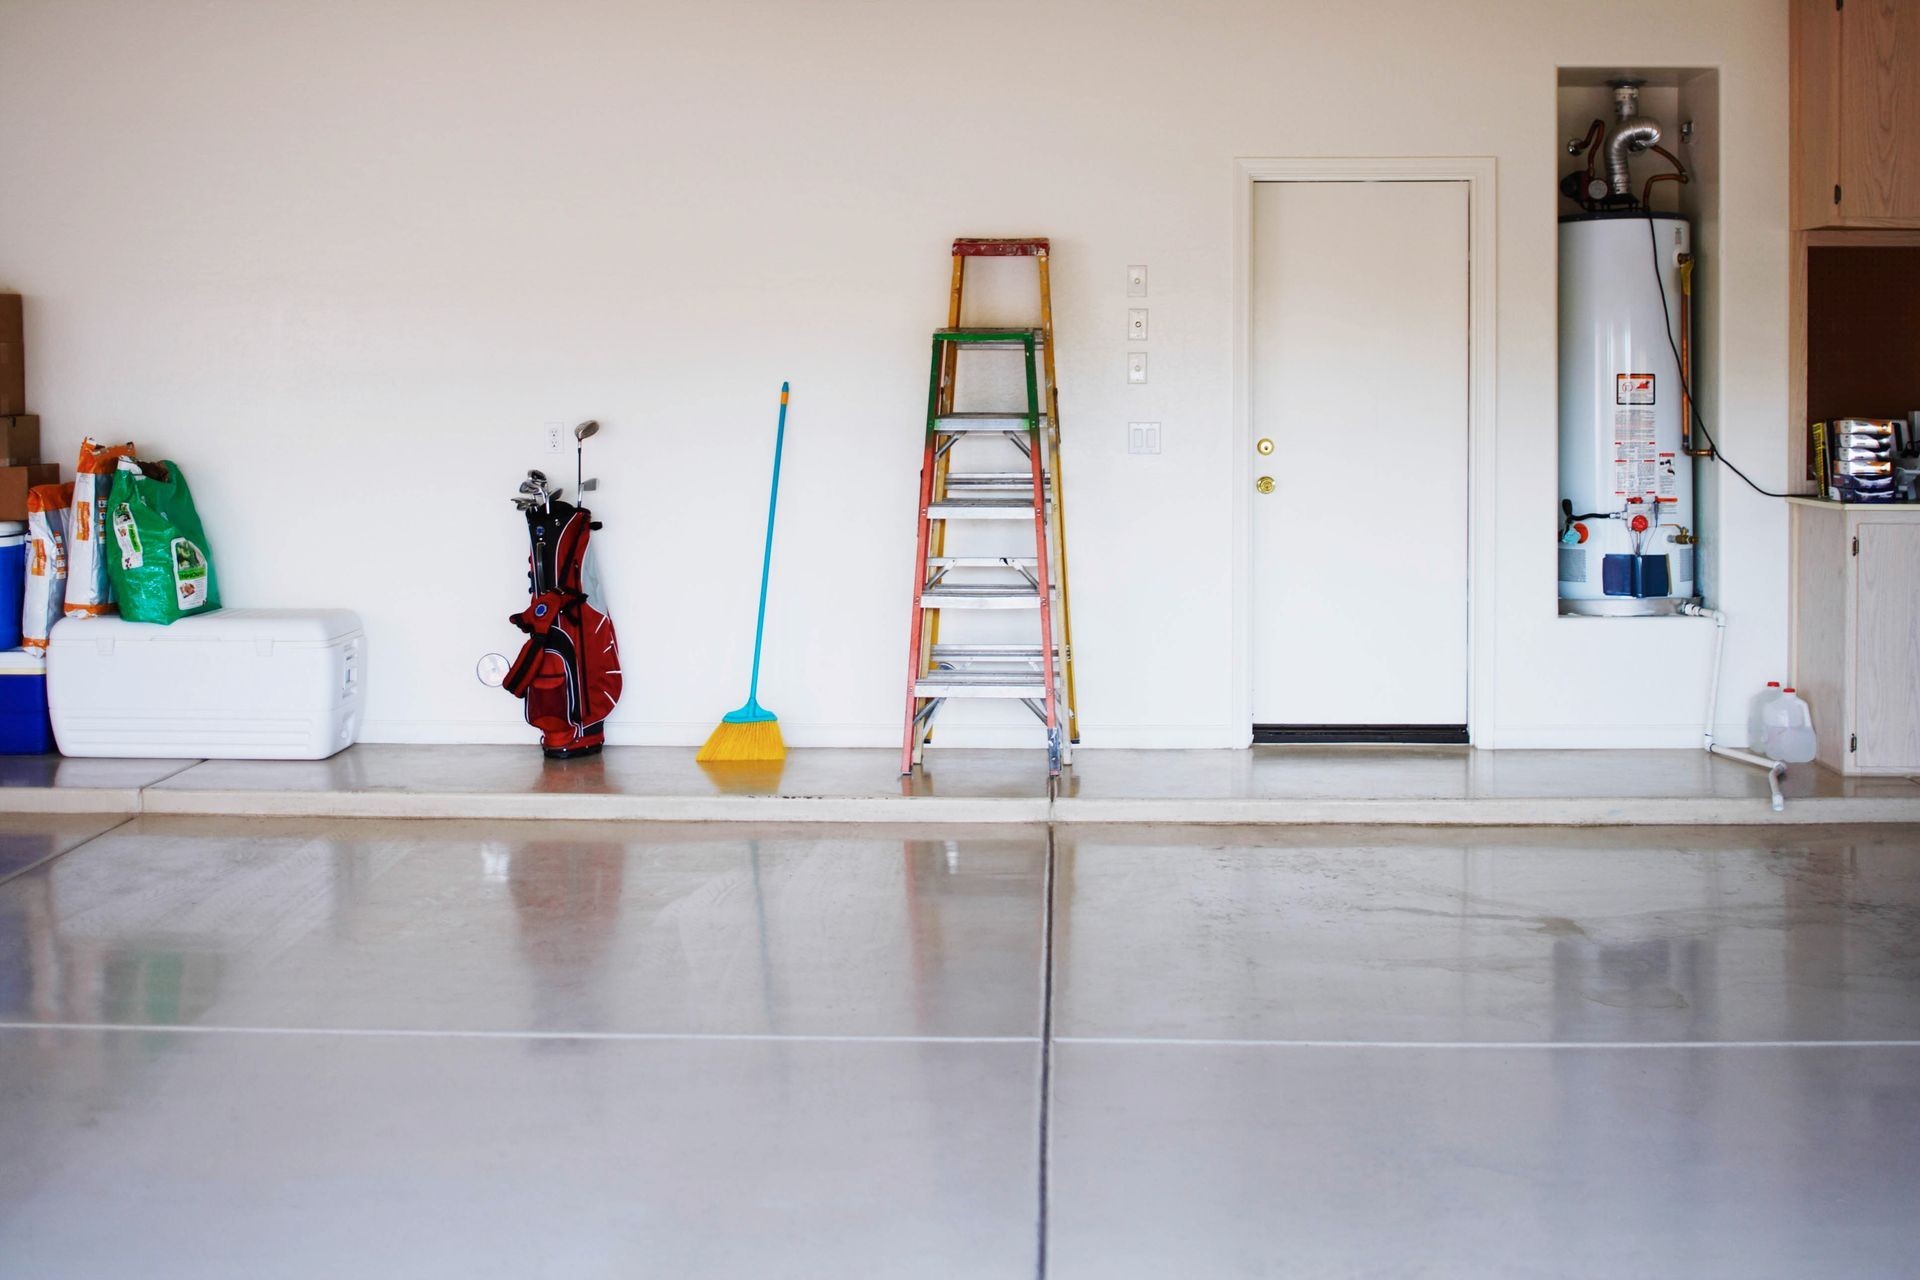
The first and most important step is removing everything from your garage floor. Installers need access to every square inch of concrete, including the corners and edges where clutter tends to pile up. Vehicles, storage bins, tools, bikes, lawn equipment, and shelving units all need to go before the crew arrives.
Plan where you will keep these items for the duration of the project. A spare room, a backyard shed, the driveway, or a short-term storage unit can all work well. Keep in mind that your belongings need to stay out of the garage until the coating cures enough to handle weight, so choose a spot that will work for several days.
Don't forget about items mounted low on the walls or sitting beneath workbenches. Anything near the floor may get in the way of grinding equipment or collect dust during preparation. If you have heavy items that you can't move yourself, such as a large tool chest or gun safe, let your installer know ahead of time so they can plan accordingly. Clearing the space completely gives your epoxy concrete crew the freedom to work without obstacles and reduces the risk of damage to your belongings.
Schedule a Professional Floor Assessment
Before any coating goes down, a qualified installer needs to evaluate your garage slab in person. This assessment reveals oil stains, tire residue, old sealers, and other contaminants that can interfere with adhesion. It also gives the crew a chance to check the overall condition of the concrete and determine how much surface preparation your floor needs.
Booking this visit early is one of the most helpful things you can do. Professionals use industrial grinders, commercial degreasers, and vacuum systems to remove buildup and open the pores of the concrete, so you don't need to scrub stains or experiment with etching products on your own. Some store-bought cleaners and acids can even leave behind residue that creates new adhesion problems, which is why it's wise to leave this work to the professionals.
During the assessment, ask questions about the process and share how you use your garage. Let the installer know if you park more than one vehicle inside, work on cars, or store chemicals near the floor. This information helps them recommend the right coating system and finish for your needs. A thorough evaluation sets the stage for a smooth installation and an epoxy concrete floor that bonds securely and lasts for years.
Point Out Cracks, Pits, and Moisture Problems
Concrete develops imperfections over time, and your garage slab is no exception. Hairline cracks, chips, and pitted areas from freeze-thaw cycles are all common in this part of the country. While you shouldn't attempt to patch these areas yourself, you can help by walking the floor and noting any damage you see.
Share these observations with your installer during the estimate or before the work begins. Professionals use specialized fillers and repair compounds that are compatible with the coating system, so the repaired areas bond as well as the rest of the floor. Store-bought patching products may not work well with an epoxy concrete system and could even cause the coating to fail in those spots.
Moisture is another concern worth mentioning. If you notice damp spots, white powdery deposits, or water pooling after heavy rain, tell your installer right away. Excess moisture rising through the slab can weaken the bond between the coating and the concrete. Experienced professionals know how to test for moisture and address it so your new floor performs as it should. Flagging these issues early prevents surprises on installation day and keeps your project running smoothly.
Plan Around Temperature and Ventilation
Temperature and humidity play a big role in how an epoxy concrete coating cures. Cold concrete slows the curing process, while excessive heat shortens the working time of the material. In our experience, most coatings cure well when temperatures stay between 50°F and 90°F, although your installer will give you guidance specific to the products they use.
If you're scheduling your project during the colder months, ask your installer whether you should keep the garage heated beforehand. In Wisconsin, a garage can get chilly quickly in late fall and early spring, so planning ahead makes a difference. Likewise, avoid running fans that blow dust or debris across the floor during application.
Good ventilation also matters, both for the crew and for your household. Make sure your garage windows open freely if you have them, and confirm that the overhead door works properly. If your garage connects to your home, close interior doors and place a towel along the bottom to keep fumes from drifting inside. These simple precautions keep everyone in the house comfortable and support a proper epoxy concrete cure.
Prepare Your Household for the Downtime
An epoxy concrete installation doesn't take weeks, but it does require several days of limited garage access. Most residential projects take two to three days to complete, depending on the size and condition of the slab. During this time, you won't be able to park in the garage or use it as an entryway.
Once the crew finishes, you'll need to wait before returning to normal use. In our experience, you can typically walk on the floor after 24 hours, but vehicles should stay off the surface for 48 to 72 hours so the coating can reach its full hardness.
Make arrangements for these days ahead of time. Park on the street or in the driveway, find another way into your home, and let family members know the garage is off-limits. Keep pets and children away from the area during application and curing, since paw prints and footprints can leave permanent marks in fresh coating. If you rely on your garage for a workshop or laundry area, plan your schedule around the installation window.
This is also a great time to think about your finish options. Decorative flake systems come in a wide range of colors and blends, so choosing yours in advance keeps the project moving and lets you envision the finished epoxy concrete floor before the work begins.
Preparing your garage before installation day doesn't take much effort, but it makes a meaningful difference in how smoothly the project goes and how well your new floor performs. Clearing the space, cleaning away contaminants, flagging damage, planning for the right conditions, and arranging for some downtime all set your installers up for success. Pair your preparation with a professional crew's skill and industrial-grade products, and you'll enjoy a floor that looks great and holds up to years of use.
Ready to upgrade your garage with a durable, attractive epoxy concrete coating? At Epoxy Flooring Specialists, LLC, we offer free same-day estimates and walk you through every step of the process, from preparation to the final walkthrough. Contact us today to schedule your estimate and get started on the garage floor you've always wanted!